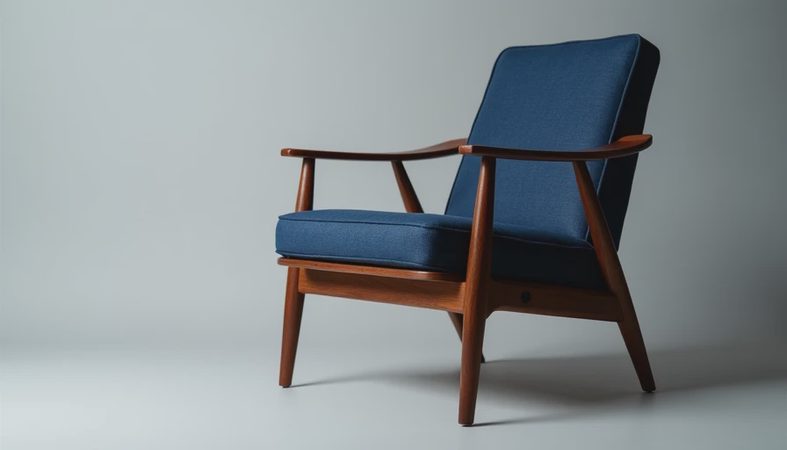
A record cabinet is one of those furniture pieces that can make a room feel finished without looking as if you tried too hard. It holds something you actually use, gives the turntable a proper home, and adds a little visual history to a space full of newer things. I love furniture that earns its footprint, especially in a small apartment where every inch has to work.
The trick is choosing a cabinet that fits your collection, your equipment, and your room’s proportions. The prettiest piece in a listing photo can become awkward fast if it is too shallow for your receiver or too low for comfortable record browsing. Start with what you love. The rest finds its place.
What to Measure Before You Shop
Begin with the records, not the cabinet. A standard 12-inch LP needs more breathing room than you might expect, so look for interior compartments that are at least 13 inches wide and 13 inches tall. That extra inch keeps sleeves from scraping against the sides and leaves room to pull an album out with your fingertips. If you have box sets, gatefold sleeves, or a growing collection, 14-inch compartments feel much less cramped.
Next, measure your audio components. A turntable generally needs a stable, level surface, while a receiver can need ventilation around the sides and top. Do not tuck a hot receiver into a sealed cubby just because the cabinet has one available. Check the dimensions of your exact model, including knobs and cables. Brands such as Audio-Technica, Fluance, Sony, and Pro-Ject make equipment in different shapes, so “standard size” is not a useful shopping measurement.
Finally, tape the proposed footprint on the floor with painter’s tape. Leave at least 30 to 36 inches for a comfortable walking path in front, particularly if the cabinet sits near a sofa or hallway. This quick test saved me from buying a beautiful 60-inch console for a wall that really needed a 48-inch piece.
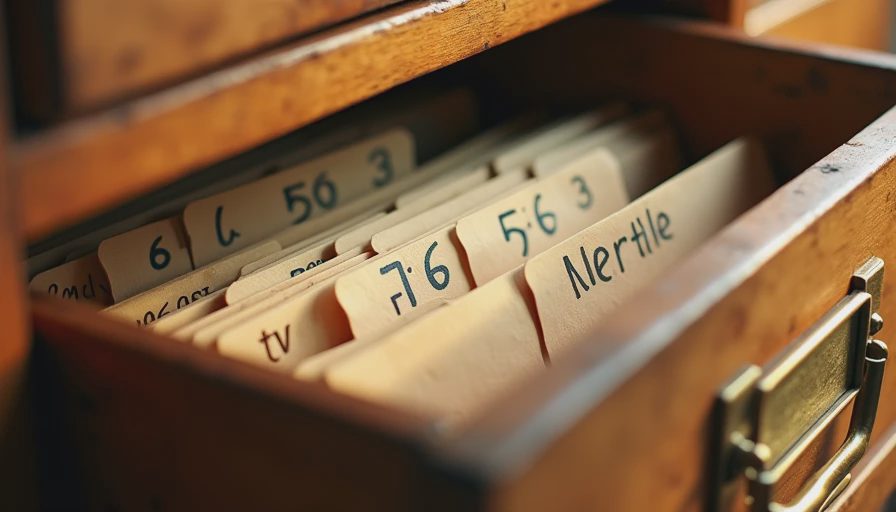
Choosing a Style Without Creating a Theme Room
A record cabinet does not need to announce that you collect records. If the rest of your home has warm wood, linen, and a few vintage accents, a walnut or oak cabinet will slide into the room naturally. Mid-century-inspired doors, tapered legs, and simple brass pulls are easy choices, but they are not the only choices. A painted cabinet in deep green, navy, or muted cream can look lovely when the room already has color.
Think about contrast. In my living room, a honey-oak cabinet would have disappeared against the floors, so I chose a darker walnut finish instead. In a room with dark flooring, a pale oak piece or painted cabinet could provide the same visual lift. You want enough difference for the shape to read, not so much contrast that it looks like a random object dropped into the room.
A vintage find can be wonderful, especially from an estate sale, but inspect it carefully. Open every door, check for swelling along the bottom edges, and look at the back panel for water damage or a musty smell. A $75 cabinet that needs $150 in repairs is still worthwhile if you love the bones, but it is not automatically a bargain. New options from retailers such as IKEA, West Elm, Urban Outfitters, and Target span a wide range of construction and price, so read dimensions and materials rather than trusting the photograph.
Storage That Actually Helps Your Collection
The best record cabinet gives each category a job. Adjustable shelves are useful because your collection may change, and they let you store cleaning supplies, headphones, or a small stack of magazines beside the albums. Doors help hide visual clutter, but open shelving makes browsing easier. I prefer a mix: closed storage for cables and dust covers, with one accessible section for the records I play most often.
Pay attention to weight capacity. Vinyl is heavier than it looks; a fully packed shelf can put considerable stress on thin particleboard. Look for center supports on wider shelves and avoid loading a long, unsupported span from end to end. If a shelf begins to bow, reduce the load before the records lean and warp their sleeves.
Record dividers are a small purchase that makes a big difference. You can sort by genre, artist, or simply “played constantly” and “need to revisit.” Acrylic dividers cost around $10 to $25, while handmade wood versions can cost more. I use plain dividers because the collection is for listening, not a library exhibit. Leave a little room at the end of each section so you can add new finds without reorganizing everything every month.
Placement, Sound, and Everyday Use
Place the cabinet where you will genuinely use it. A corner across the room might look balanced, but walking there every time you want to change an album gets old. Near the sofa is convenient; directly beside a radiator is not. Heat and repeated temperature changes are hard on records and wood finishes, so keep the cabinet away from radiators, fireplaces, and strong afternoon sun.
A level surface matters for the turntable. Uneven floors can often be corrected with small furniture shims beneath the cabinet, but do not balance expensive equipment on a wobbling piece. Keep speakers on separate stands or stable surfaces when possible. Placing speakers directly on a hollow cabinet can transfer vibration and muddy the sound, especially at higher volume.
Cable management is where a beautiful setup can lose its charm. Before pushing the cabinet against the wall, identify the outlet, audio cables, and any power strip you need. A few adhesive cable clips inside the back edge can prevent a knot from collecting dust. If the cabinet has a solid back, you may need to cut a neat cable opening with a hole saw. Measure twice; replacement backs are less fun than they sound.

Budgeting for the Whole Setup
A practical record cabinet can cost anywhere from about $150 for a simple flat-pack option to $1,200 or more for a solid-wood piece. That does not mean the expensive one is automatically better. At the lower end, prioritize a level top, sturdy shelves, and dimensions that fit your equipment. Between $300 and $700, you will usually find more finish options, better hardware, and stronger construction, though quality still varies by design.
Remember the smaller expenses. A felt mat might cost $15 to $35, basic record cleaning supplies $20 to $50, and cable management less than $20. If you buy vintage, budget for new hardware, touch-up supplies, or a replacement shelf. Delivery can add $50 to $200 for larger furniture, and apartment staircases can turn a manageable box into a two-person job.
I once spent nearly $90 on a cabinet that looked perfect online, then discovered the doors blocked the turntable lid. Returning it cost time, packaging, and a bruised shoulder. The lesson was boring but useful: add every component’s measurements to one note on your phone before shopping.
A Simple Final Checklist
Before buying, confirm the exterior width against your wall and walking path. Confirm the interior dimensions against your records and equipment. Check whether the doors open fully without striking a sofa, table, or baseboard. Look for ventilation around the receiver, a level top for the turntable, and enough shelf support for a heavy collection.
Then look at the finish in relation to your existing room. Compare it with the floor, coffee table, and largest upholstered piece. If everything is beige and pale wood, a record cabinet in walnut, oxblood, or soft black can provide welcome weight. If the room already has several dark pieces, a lighter finish may create better negative space.
Most importantly, choose a piece you want to live with rather than one that only photographs well. Your collection will grow, your listening habits will change, and the cabinet will gather the little marks of daily life. That is not failure; it is character. A record cabinet should support the room, not dominate it. Start with what you love. The rest finds its place.