Closet lighting is one of those small home improvements you notice every single day. Without it, navy looks black, the back corner becomes a sock graveyard, and getting dressed at 7 a.m. feels like a low-stakes escape room. With the right light, you can see your clothes, coordinate outfits, and make even a basic reach-in closet feel intentional. I am not an electrician or an interior designer. I am a designer who has spent years rearranging small apartments and learning which improvements actually earn their place in the budget.
Start with the kind of closet you have
The best closet lighting depends on the space, not on whatever fixture is trending in a staged photograph. A shallow reach-in closet usually needs a slim light mounted near the center or toward the front, where it can spread across hanging clothes. A walk-in closet benefits from several smaller sources instead of one bright fixture in the middle. That approach reduces shadows and makes shelves easier to use.
For a rental, begin with removable options. Battery-powered puck lights can attach beneath shelves or along a side wall with adhesive strips. Expect to spend about $15 to $35 for a small set, though inexpensive batteries can become the hidden cost. Rechargeable motion-sensor lights typically run $20 to $60 and are more convenient if you open the closet often. Look for warm white or neutral white light rather than a harsh blue tone. Around 2700K to 3500K usually feels comfortable while still showing color reasonably well.
If you own the home, a hardwired ceiling fixture gives the cleanest finish, but it is an electrical project rather than a casual Saturday craft. A licensed electrician might charge roughly $150 to $400 for a straightforward new fixture installation, depending on access and local labor rates. Never cover an existing fixture or install a new wired product where the manufacturer requires professional installation.
Choose brightness and placement carefully
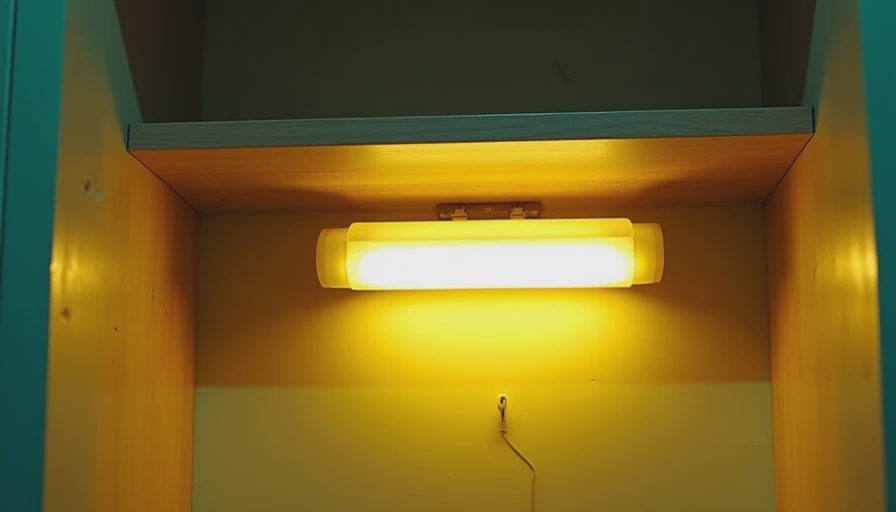
Brightness matters, but more is not automatically better. A tiny closet with one very bright bare bulb can feel like a dressing room at the DMV. Soft diffusion is kinder to your eyes and spreads light across fabric. Frosted glass, fabric shades designed for enclosed fixtures, and diffused LED strips can all help.
For closet lighting, placement should follow the places where your hands and eyes actually work. Put a strip under a shelf if you fold sweaters there. Add a puck light above shoe storage. In a walk-in closet, place ceiling lights so your body does not cast a shadow directly over the clothing rack. Side lighting is especially useful for shelves because it reaches the back without relying on a ceiling light.
LED strips are a flexible middle ground. A basic plug-in kit can cost $20 to $50, while a better system with a diffuser channel, remote, and adjustable color temperature may cost $60 to $120. Measure before ordering. Strips are commonly sold in set lengths, and trimming them is only safe at marked cut points. A diffuser channel also keeps the individual LED dots from looking like a row of tiny Christmas lights.
Think about color accuracy, too. If the closet lighting makes every cream blouse look yellow or every burgundy skirt look brown, dressing becomes guesswork. A high color-rendering index, often listed as CRI 90 or higher, is a useful feature for clothing areas. It does not need to turn your closet into a photography studio; it simply helps colors look more like they do near a window.
Make a small closet feel more expensive
You do not need a custom wardrobe system to make a closet feel polished. The visual trick is consistency. Use one finish for visible hardware, repeat the same light color throughout, and hide cords whenever possible. Black fixtures can look crisp against white shelving, brass adds warmth to natural wood, and white blends quietly into a painted ceiling.
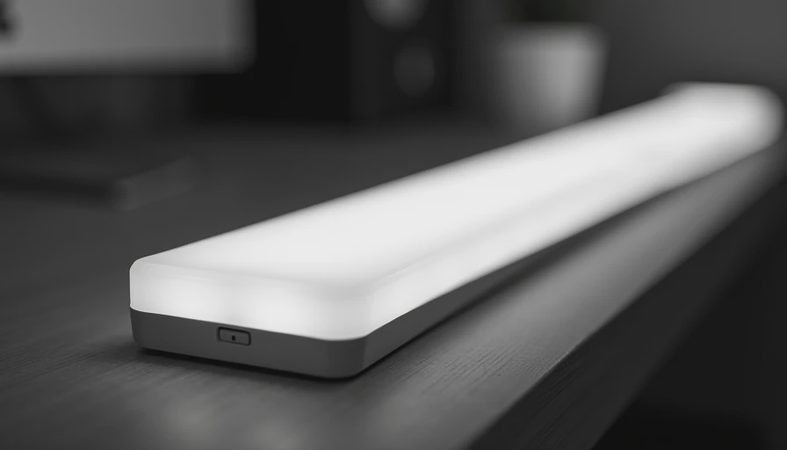
One of my favorite closet lighting upgrades is a slim rechargeable bar under a shelf. It gives a soft line of light, switches on when the door opens, and does not require drilling. I used one in a narrow apartment closet after realizing my previous puck light created a bright circle but left the rest of the shelf dark. The bar cost about $28, took ten minutes to mount, and solved the actual problem instead of merely adding another gadget.
If you prefer a decorative fixture, choose a low-profile flush mount rather than a hanging pendant. A pendant can interfere with doors, shelves, or your head, especially in a compact walk-in. For a larger dressing area, a semi-flush fixture with an opal shade can provide general light while a small lamp or vanity fixture handles the mirror.
A practical installation plan
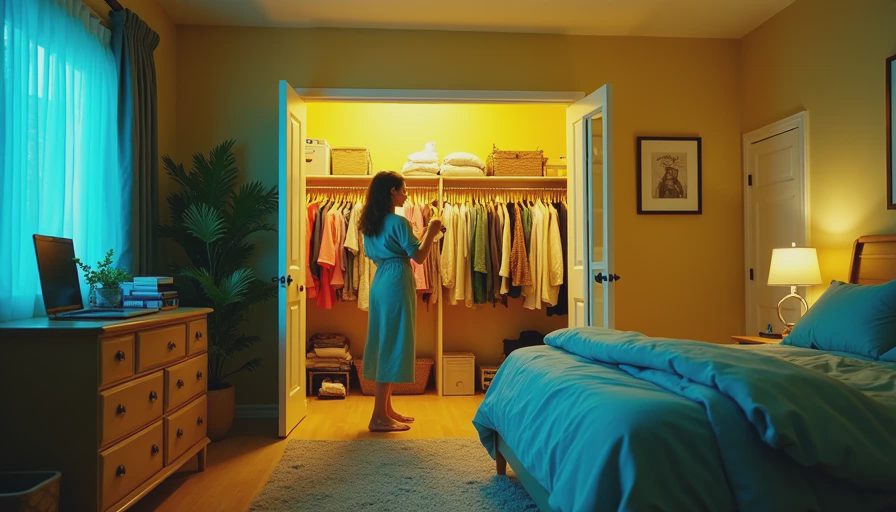
Before buying anything, stand inside the closet with the door closed and identify the darkest zones. Take a quick photo with your phone; the image often reveals shadows you stop noticing in person. Measure shelf widths, ceiling height, and the distance to the nearest outlet. Then decide whether you need general light, task light, or both.
For adhesive fixtures, clean the mounting surface with the product-recommended cleaner and let it dry fully. Do not stick a light to dusty fabric, textured wallpaper, or loose paint and expect it to stay. For plug-in systems, route the cord along a corner with removable clips, leaving enough slack to open doors and drawers. Avoid pinching cords behind sliding doors.
Motion sensors are convenient, but test their timing before permanently positioning the light. A sensor that switches off after fifteen seconds can become irritating when you are sorting clothes. A door sensor is often better for a rarely used closet, while a motion sensor works well in a walk-in. Keep batteries and charging ports accessible rather than placing them behind a fixed shelf.
If you are replacing a hardwired fixture, turn off the circuit at the breaker and verify that power is off before touching wiring. If anything is unclear, stop and call an electrician. A pretty fixture is not worth an unsafe shortcut.
Budget examples that actually make sense
A $25 starter setup might include two rechargeable puck lights for a reach-in closet. It will improve visibility, especially over shoes and folded items, but it will not eliminate every shadow. Around $75, you can combine a motion-sensor bar with a second shelf light and removable cord clips. That is often the sweet spot for a rental.
At roughly $150 to $250, a homeowner can create a more finished system with an electrician-installed ceiling fixture, a simple dimmer where compatible, and one under-shelf light. A larger walk-in may cost more because it needs multiple fixtures and additional wiring. Build the plan around how you use the room rather than buying the most expensive product first.
Brand names are less important than specifications. IKEA, Home Depot, Lowe's, Amazon, Philips, GE, and Lepro all offer different types of light bars, puck lights, and LED strips at various prices. Read the return policy, check whether batteries are included, and look for reviews that mention adhesive performance and sensor reliability. A $40 light that stays attached is a better value than a $15 light that lands in your laundry basket.
The final edit
Good closet lighting should make the room calmer, not busier. Start with the darkest area, improve the light there, and live with it for a week before adding more. You might discover that one shelf bar solves the daily frustration and that a second fixture would only create glare.
My own rule is to prioritize visibility, then convenience, then decoration. A rechargeable bar that helps you find the black cardigan is more valuable than a beautiful fixture aimed at the wrong wall. Once the practical layer works, choose a finish that connects with your bedroom hardware or nearby furniture.
The goal is not a showroom closet. It is a space where you can find the thing you need, see what color it really is, and leave the house without muttering at a shadowy shelf. Start with what you love. The rest finds its place.