The right carpenter tools can turn a wobbly shelf, plain pine board, or secondhand table into something that feels intentional. You do not need a garage full of expensive equipment to begin. I learned this after trying to repair a thrifted side table with one tiny screwdriver and an unreasonable amount of optimism. The table survived, but my wrist did not.
If you are furnishing a first apartment, updating a rental with removable shelves, or making a console table for that awkward entryway, start with a small, useful collection. Good tools should make a project calmer, not make your home look like a hardware store exploded.
The starter carpenter tools I would buy first
Begin with measuring and marking tools. A 16-foot tape measure is enough for nearly every home project, and a combination square helps you mark straight lines and check right angles. I like a metal-bodied square because the inexpensive plastic versions can flex. Plan to spend about $8 to $20 on the square and $10 to $25 on a dependable tape measure.
Add a sharp utility knife, carpenter pencil, and a small level. The pencil makes a darker line than a standard writing pencil, while the level keeps a floating shelf from quietly sloping toward the floor. A 24-inch level is more versatile than a tiny one, although an 8-inch torpedo level is easier to tuck into a kitchen drawer.
Your first hand tools should include a claw hammer, Phillips and flathead screwdrivers, slip-joint pliers, and a set of hex keys. A 16-ounce hammer is comfortable for picture-hanging, small repairs, and assembling basic furniture. For most beginners, a $50 to $90 bundle from brands such as Stanley, Craftsman, or Husky covers these essentials without asking you to commit to a professional workshop.

Choose a drill before you choose a dozen gadgets
A cordless drill is the most useful upgrade in a beginner's collection. It drives screws, drills pilot holes, and saves your hand from the slow torture of assembling flat-pack furniture. An 18-volt or 20-volt drill from DeWalt, Makita, Milwaukee, Ryobi, or Bosch is more than capable for shelves, curtain rods, cabinet pulls, and small furniture.
For a first purchase, look for a kit with the drill, one battery, a charger, and a basic bit set. Expect roughly $70 to $150 for a solid homeowner setup. A second battery is convenient but not essential. If you already own a drill, spend $15 to $30 on a combination bit set with Phillips driver bits, brad-point wood bits, and a countersink bit. The countersink lets a screw head sit below the surface, which makes a painted project look much more finished.
Use a pilot hole whenever you drive a screw near the end of a board. It reduces splitting, especially in pine and narrow trim. I learned this while installing a shelf above my desk; the board cracked, the shelf tilted, and Saffron immediately treated the fallen brackets as a new cat toy.
The cutting and sanding tools that earn their space
A handsaw is enough for many first projects. Choose a crosscut saw for cutting boards across the grain, or buy a compact Japanese pull saw if you prefer cleaner control. Pull saws are usually thin and precise, and they are less intimidating than a power saw in a small apartment. A basic option costs around $15 to $35.
Sandpaper is not glamorous, but it is one of the carpenter tools that separates a charming handmade project from something that feels unfinished. Keep 80-grit paper for removing rough spots, 120-grit for general smoothing, and 180- or 220-grit for preparing wood before paint or finish. A sanding block costs a few dollars and gives you better control than folding loose paper around your palm.
For larger surfaces, a random orbital sander can save hours. A corded model from brands such as Black+Decker, DeWalt, or Bosch often costs $45 to $90. Use it outdoors or near a vacuum because fine dust travels farther than you expect. I once found sawdust inside a closed kitchen drawer three days after sanding a tabletop.
Carpenter tools for renters and small spaces
A rental-friendly kit should be quiet, compact, and easy to store. Skip the table saw unless you have a dedicated workshop and a real reason to use one. A drill, hand saw, level, square, clamps, and sanding supplies can handle shelves, trim repairs, planter boxes, and many furniture upgrades without consuming half your closet.
Clamps deserve more attention than they get. Two 6-inch bar clamps, usually $15 to $30 each, hold boards steady while glue dries or screws go in. Spring clamps are cheaper and handy for fabric, light trim, and temporary positioning. If a project feels impossible to hold while you fasten it, the answer is often a clamp rather than a stronger grip.
Storage matters too. A lidded plastic tote keeps sawdust away from linens, while a small divided organizer prevents drill bits from becoming a mysterious metal pile. Put a scrap of cardboard under the tote if you store it on a wood floor. Tiny bits of grit can scratch flooring surprisingly quickly.
A practical buying plan for your first project
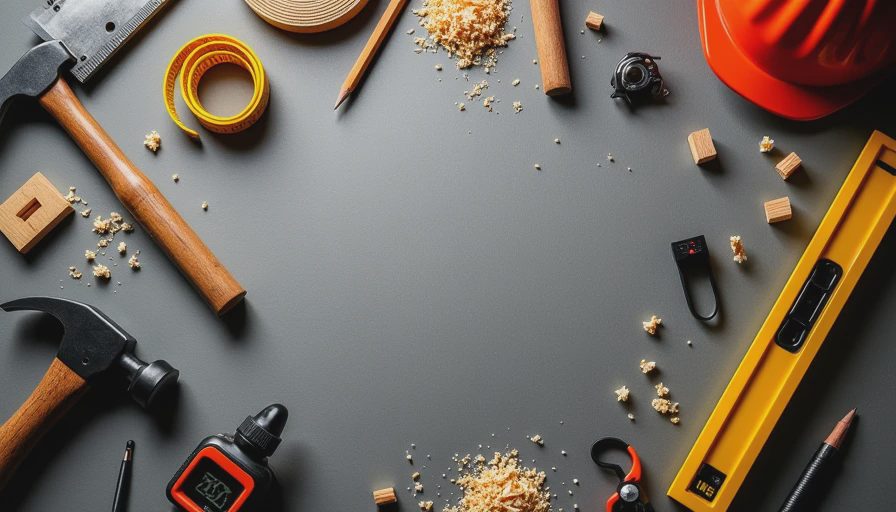
Do not buy every item in one enthusiastic Saturday. Choose a project, then purchase only the carpenter tools that project requires. For a simple wall shelf, that might mean a tape measure, level, square, drill, bits, pencil, clamps, and sandpaper. The total can stay near $120 if you buy a midrange drill kit and borrow the clamps.
For a small table, add a handsaw, wood glue, four clamps, and a finish such as water-based polyurethane. That setup may land closer to $180, but it is still less than many ready-made accent tables. Write down the board dimensions before shopping and add a little extra material for mistakes. Buying one extra inexpensive pine board is cheaper than driving back to the store after cutting the first one incorrectly.
Before making a cut, measure twice and mark the waste side of the line. Before driving a screw, drill a pilot hole. Before applying stain, test it on the underside or an offcut. These three habits prevent the expensive, frustrating mistakes that no shiny tool can fix.
Safety, accuracy, and the finish that makes it yours
Wear eye protection whenever you cut, drill, or sand. Keep long hair tied back, work on a stable surface, and secure boards instead of holding them with one hand. Unplug corded equipment before changing blades or accessories. These are boring rules until the day they are the reason a project ends with a finished shelf rather than an urgent-care visit.
Accuracy is mostly patience. Check the level from both directions, confirm the square before marking, and let glue dry for the time printed on the label. If a board is slightly imperfect, design around it instead of chasing factory-level precision. A painted edge, contrasting hardware, or rounded corner can make a small irregularity look deliberate.
The best carpenter tools are the ones you reach for repeatedly, not the ones that look impressive in a workshop tour. Start with what you love: perhaps a walnut shelf, a painted stool, or a narrow console for the entry. The rest finds its place. Build slowly, keep the budget visible, and let each project teach you what belongs in your hands next.