There is a very specific moment in October when I want my apartment to look festive, but not like a seasonal aisle exploded in the living room. That is where painted pumpkin ideas save me. A few real or faux pumpkins, one thoughtful color palette, and an hour with a brush can create a display that feels personal rather than mass-produced. You do not need a craft room, a cutting machine, or a porch the size of a small parking lot.
I have painted pumpkins on a folding table, a balcony, and once on a towel spread across my kitchen floor while Saffron supervised. The first attempt was too glossy and a little lumpy. The second looked much better because I stopped trying to copy a picture online and started with colors already in my home.
Choose a Palette Before You Choose a Pumpkin
The easiest way to make painted pumpkin ideas look polished is to limit the palette. Pick two main colors and one small accent. In my apartment, that might be warm white, terracotta, and a touch of olive green. If your room has navy curtains, try cream, muted blue, and brass-colored details. For a softer look, combine dusty pink, taupe, and chocolate brown.
Think about temperature, not just hue. A bright orange pumpkin beside cool gray paint can look accidental, while rust, caramel, and cream feel connected. You can also use the 60-30-10 rule: let the dominant color cover most of the pumpkins, use a second color on about a third, and save the accent for tiny dots, stems, or one special pumpkin.
The pumpkin itself does not need to be orange. White, pale green, and tan varieties are wonderful blank canvases. Grocery stores, garden centers, craft stores, and thrift shops often have options between $3 and $12, while reusable foam pumpkins can cost around $6 to $15. Start with what you love. The rest finds its place.

Five Painted Pumpkin Ideas for Different Rooms
For a classic front-door arrangement, paint three pumpkins in graduated shades of cream and cinnamon. Leave one stem natural, brush a thin stripe around another, and cover the smallest one in a simple checkerboard pattern. Place them beside a woven basket or a plain doormat instead of adding more orange decorations. The result feels welcoming without shouting from the sidewalk.
For a modern mantel, try painted pumpkin ideas using one color in three finishes. A matte black pumpkin, a satin black pumpkin, and a pumpkin with tiny metallic flecks create texture even when the color stays consistent. Add a short stack of books and a ceramic vase, then leave breathing room around the arrangement. Negative space is what keeps a display from becoming clutter.
For a rental-friendly kitchen, choose miniature pumpkins and paint them in colors pulled from a tea towel or artwork. A row of four along a windowsill can be enough. I like warm white with small green leaves because it feels seasonal but still works with everyday dishes. Use removable felt dots underneath so the pumpkins do not scratch a wood sill or slide when the window opens.
For a playful dining table, paint simple faces or oversized dots on three small pumpkins. Keep the expressions nearly identical and use the same brush size. Repetition turns a casual project into a visual theme. If you are hosting, write guests’ names on tiny pumpkins with a paint pen and let each person take one home.
For a moody bedroom corner, choose deep forest green, clay, and aged gold. Paint only the lower half of each pumpkin, leaving the top section natural. That partial treatment is forgiving because the edge does not need to be perfectly straight. Set the group beside a lamp, not directly under a bright ceiling light, so the colors keep their softness.
Paint Techniques That Forgive Wobbly Lines
You do not need expensive supplies. Craft acrylic paint, two inexpensive synthetic brushes, a small cup of water, paper towels, and a foam plate will take you surprisingly far. A 2-ounce bottle of paint often costs about $1 to $3. Add a water-based sealer if the pumpkins will sit outdoors under a covered porch.
Clean the pumpkin first with a slightly damp cloth and let it dry completely. For faux pumpkins, lightly scuff a very shiny surface with fine sandpaper. Apply two thin coats rather than one thick coat; thick paint pools in the grooves and takes longer to cure. Let each coat dry before turning the pumpkin.
For painted pumpkin ideas with crisp lines, use painter’s tape on broad sections and press the edge down with a fingernail. Remove the tape while the final coat is still slightly soft. For dots, use the end of a new pencil eraser, a cotton swab, or the rounded handle of a brush. For tiny leaves, press the brush down and lift quickly. Imperfect marks are part of the charm, especially when the pattern repeats.
If you want a speckled finish, thin a darker paint with a few drops of water, load a stiff brush, and flick it gently over the surface. Practice on cardboard first. I learned this after decorating my kitchen backsplash, my sleeve, and Saffron’s favorite cardboard box in one enthusiastic afternoon.
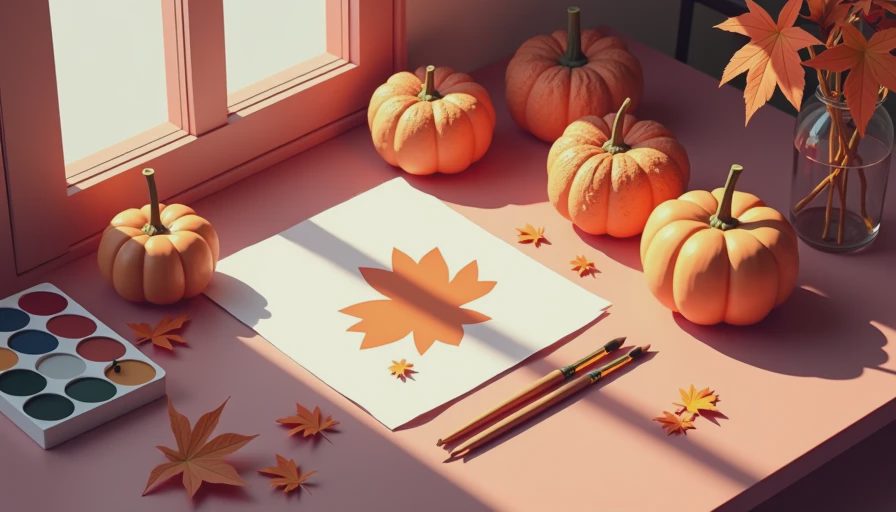
How to Make the Display Look Intentional
The finished pumpkins need a little editing. Group odd numbers when possible: three on a tray, five along a console, or one large pumpkin beside two small ones. Vary height by using a stack of books, a shallow bowl, or a small wooden riser. The objects do not need to match, but they should share one visual idea, such as color, finish, or pattern.
Leave some empty space. A cluster spread across an entire mantel often looks less expensive than a smaller group with room around it. Mix in one natural material, such as a rattan basket, linen runner, wood bowl, or dried branch. These textures balance painted surfaces and make the arrangement feel like part of the room rather than a temporary craft project.
For a porch, keep painted pumpkins under cover when possible. Moisture can soften cardboard details, dull paint, and encourage staining on unfinished wood. For real pumpkins, avoid sealing the bottom if they will sit directly on a damp surface. A small saucer or raised tray helps air circulate and protects the porch.
A Simple Weekend Project Plan
On Friday evening, choose your palette and gather the pumpkins. Photograph the room where they will go so you can compare colors in the actual light. Saturday morning, wipe and prime any slick surfaces. Paint the background coats before lunch, then let them dry while you do something else. A second coat in the afternoon is usually enough.
On Sunday, add patterns, dots, or lettering. Wait until the details are dry before applying sealer. Arrange everything in one place, remove the weakest piece, and take a quick phone photo. The camera makes proportion problems obvious. If one pumpkin dominates the frame, move it back or place it beside something taller.
The best painted pumpkin ideas are not necessarily the most complicated ones. A cream pumpkin with a hand-painted stripe can look more sophisticated than a detailed design covered in five colors. Choose a palette that already feels like you, work in thin layers, and let a few handmade marks remain visible. Your home does not need a perfect seasonal makeover. It just needs one small corner that makes you happy when you walk past it.