The secret to how to hang shelves is less about having a fancy drill and more about knowing what is behind your wall. Find the studs, choose hardware suited to the wall and the weight, and level the brackets before you tighten everything. For a shelf that will hold books or dishes, I would prioritize fastening into studs; a light decorative shelf may work with properly rated wall anchors. Either way, the pretty part comes after the secure part.
Decide where the shelf belongs
Start by holding the shelf, or a strip of painter's tape cut to its length, against the wall. Step back and look at it with the furniture below. A shelf over a desk should leave room for your monitor and anything you reach for daily. Beside a sofa, check that nobody will bump their head when sitting down or standing up.
Think about depth as well as length. A narrow shelf can hold framed art and small objects without crowding a walkway; dinner plates and deep books need more room. Measure the actual items you want to display, including anything that sticks out behind a frame.
For a pleasing arrangement, I like to leave some breathing room around the shelf instead of matching its width exactly to the furniture beneath it. Tape makes it easy to try a few positions before you make holes. Mark a light pencil line for the intended shelf height, then check it with a level. Floors and ceilings are not always perfectly level, so don't rely on measuring up from the floor alone.
Before you shop for hardware, check your lease if you rent. Some leases limit holes or require you to patch them. Adhesive ledges are not a reliable substitute for a load-bearing shelf; for a no-hole option, consider a freestanding bookcase instead.
How to hang shelves on drywall
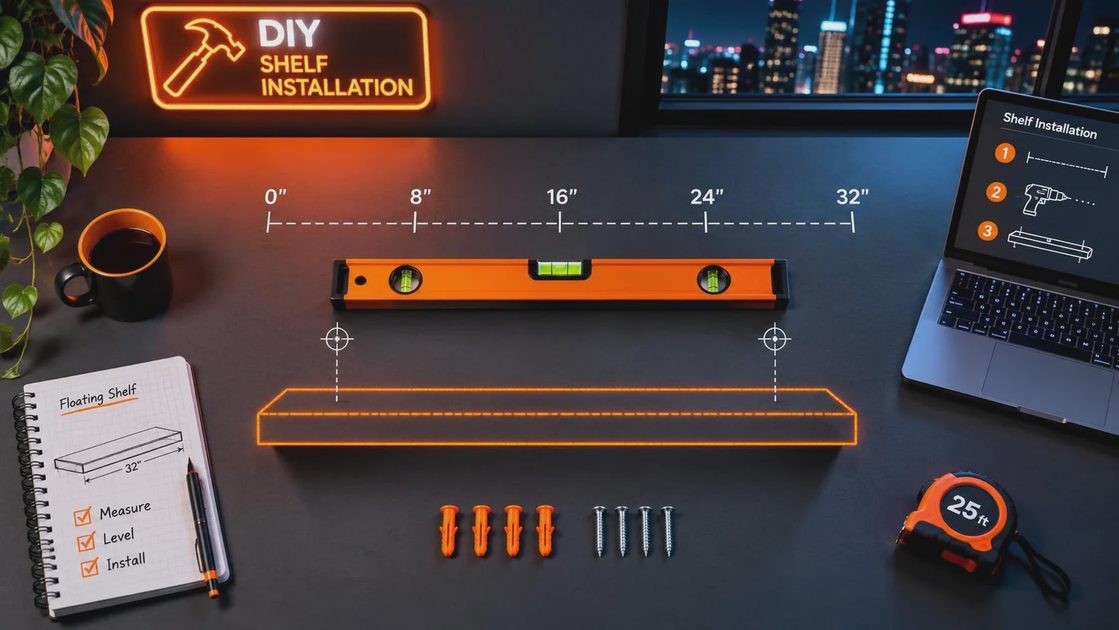
Gather a stud finder, level, pencil, tape measure, drill and bits, screwdriver, brackets, screws, and any wall anchors specified for the job. Safety glasses are a good idea when drilling. Your shelf or bracket instructions may call for additional tools or a particular mounting method, so read them before marking the wall.
Use the stud finder across the area where the shelf will go, following its directions, and mark the edges and center of each stud. Confirm stud locations rather than trusting a single scan: readings can be affected by pipes, wiring, and other materials. Avoid drilling where wires or plumbing may run, especially near outlets, switches, and fixtures. If you're unsure what's behind the wall, stop and ask a qualified professional.
Hold the first bracket in position with its mounting holes over the center of a stud. Mark the screw holes, then position the second bracket at the spacing required by the shelf manufacturer. Use a level across the bracket positions and mark those holes too. A second pair of hands is helpful here, but painter's tape can hold a light bracket in place while you mark.
Drill pilot holes sized for the screws and mounting surface, following the hardware instructions. Pilot holes make screws easier to drive and help reduce the chance of splitting wood. Fasten the brackets, check their alignment, then attach the shelf to them if the hardware provides for it. Don't overtighten screws until the bracket or wall surface is damaged.
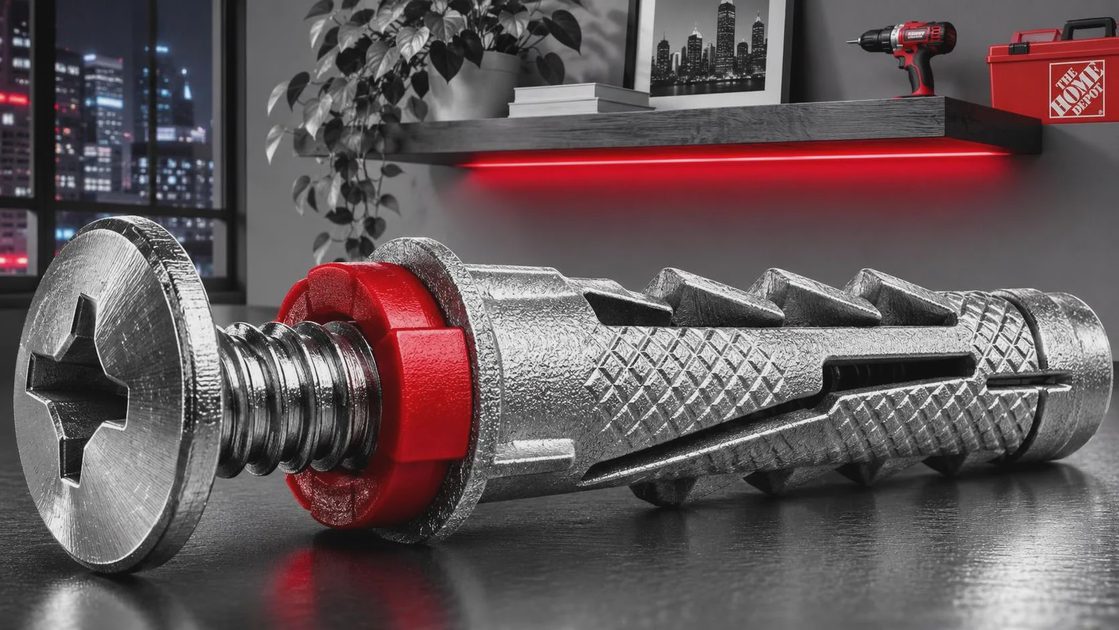
If one bracket cannot land on a stud, use an anchor intended for the wall material and the expected load, installed exactly as directed. Its rating is not a promise that the whole shelf can hold that amount: the shelf, brackets, screws, wall, and placement all matter. Never add individual anchor ratings together and assume the result is a safe shelf capacity.
What if the wall isn't standard drywall?
For plaster, use hardware appropriate to plaster and locate solid framing where possible. Plaster can crack or crumble, so drill carefully and follow the fastener manufacturer's instructions rather than assuming a standard drywall anchor will work. Older walls can also conceal surprises; get help if the surface is damaged or you're unsure what you're drilling into.
Brick, concrete, and other masonry need suitable masonry anchors and the correct drill bit. Some installations also call for a hammer drill. The right fixing depends on the material and its condition, so check the anchor instructions and avoid treating a crumbly mortar joint as a guaranteed secure point.
Floating shelves often use a concealed mounting plate or rods instead of visible brackets. Follow that shelf's template and fastening directions closely: the hardware needs to sit squarely for the shelf to slide on and fit properly. Because the load projects away from the wall, secure attachment matters especially here. Don't improvise with spare screws simply because they fit through the holes.
Load it gradually, then make it yours
Check that the mounted shelf is level and that the brackets feel firmly attached. Add items gradually, starting with the heavier ones near the supports. Stay within the lowest applicable weight limit stated for the shelf and hardware, and remember to include the weight of the shelf itself if the instructions specify a total supported load. If anything shifts, sags, or pulls away from the wall, unload it and reassess the mounting.
Now for the part I love: making the practical thing feel like your room. Try a short stack of books, one framed photo, and a small ceramic object, leaving a little empty space between them. A trailing plant can soften a straight edge, but keep it and any breakables somewhere pets can't knock them down. That open space isn't unfinished; it gives your favorite pieces room to be noticed.
Start with what you love. The rest finds its place.