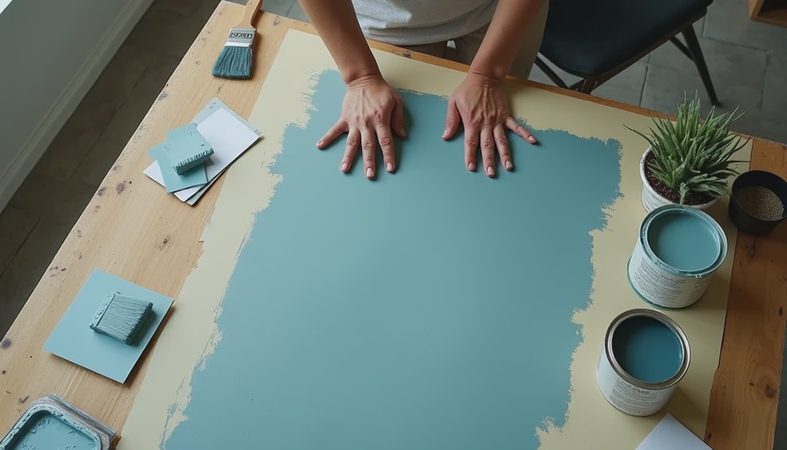
There is a special kind of bathroom sadness that comes from a tub that is perfectly functional but permanently looks tired. Mine had yellowed around the drain, a few gray marks from an old bath mat, and a finish that made every other detail look dingy. Bath tub paint gave me a way to change the whole mood without replacing a heavy fixture or spending several thousand dollars on a remodel.
This is not a five-minute craft project, and it is not ordinary wall paint in a cute little can. The right coating, careful preparation, and plenty of drying time matter more than fancy tools. Done thoughtfully, the result can look clean, calm, and intentional for a fraction of replacement cost.
What bath tub paint can and cannot do
Bath tub paint is a specialty refinishing coating made for surfaces such as porcelain, ceramic, fiberglass, acrylic, and sometimes cast iron. It is formulated to handle moisture and frequent cleaning better than standard latex paint. Epoxy acrylic and two-part epoxy kits are common choices at hardware stores and online, usually ranging from about $35 to $90.
It can cover discoloration, soften the look of dated beige or pink, and make a small bathroom feel brighter. White is the easiest color to live with, but soft gray, pale blue, and warm almond can also work beautifully when they echo a nearby tile or shower curtain. I would not use it to hide major structural damage. Deep cracks, soft fiberglass, active leaks, or a badly rusted drain need repair before any coating goes on.
The finish also will not erase every dip or chip. Paint changes color and sheen; it does not rebuild a damaged surface. Think of it as a visual reset, not a substitute for professional resurfacing.
Choosing the right kit for your tub
Before buying bath tub paint, identify the surface. Porcelain and cast iron usually need aggressive cleaning and light sanding so the coating can grip. Fiberglass and acrylic require a gentler touch because deep sanding can create visible scratches. Read the label for approved materials, coverage, mixing instructions, and whether the product is intended for tubs, showers, sinks, or all three.
A one-part acrylic kit is simpler and often has less odor, which is appealing in a small apartment bathroom. A two-part epoxy can produce a harder finish, but you must mix it accurately and work within its pot life, meaning the limited time before the mixed product becomes difficult to spread. Rust-Oleum Tub and Tile Refinishing kits and specialty products from Homax are examples you may see, but the label instructions should decide whether a product suits your fixture.
Budget another $15 to $30 for foam rollers, a good angled brush, painter's tape, plastic sheeting, sandpaper, gloves, and a respirator or suitable mask if the product requires one. The inexpensive kit becomes less inexpensive if you forget ventilation supplies.

Preparation is where the pretty result happens
Remove the drain cover, overflow plate, soap dishes, and anything else that blocks the surface. Take off old caulk completely with a scraper and a utility knife. New coating should never be expected to stick to flexible, crumbly caulk.
Clean the tub with a degreaser that removes body oil, soap film, and product residue. Rinse until no cleaner remains, then let the surface dry. For stubborn stains, use the product maker's recommended cleaner rather than mixing household chemicals. Open a window, run the exhaust fan, and keep the door open when possible.
Sand according to the kit directions, focusing on glossy areas and rough patches. You are creating a surface the coating can hold onto, not trying to remove every mark. Vacuum or wipe away all dust, then use a clean lint-free cloth. Tape around the walls, floor, fixtures, and drain opening. Lay plastic over the floor because one small drip can become a permanent souvenir.
Applying bath tub paint without brush marks
Mix only the amount you can use within the stated working time. If the kit has two components, measure carefully; guessing can leave a soft or sticky finish. Pour the coating into a small tray and apply a thin, even coat with a dense foam roller. Use a brush for corners and around the drain, but avoid repeatedly brushing areas that have started to set.
Thin coats are more attractive than one heavy coat. A thick layer may sag on vertical sides, trap bubbles, or stay tacky for days. Most bath tub paint projects need two coats, with the recommended waiting period between them. That wait might be a few hours or overnight, so plan around the bathroom rather than trying to rush before guests arrive.
Keep the room as dust-free as possible while the finish dries. Saffron, my orange rescue cat, would consider wet paint an invitation to investigate, so I would close the bathroom door and put a note on it. Pets, children, and curious roommates should stay away until the coating is fully cured.
The curing period is not optional
Dry to the touch does not mean ready for a hot shower. Depending on the product, bath tub paint may need 24 to 72 hours before light use and several days before regular cleaning. Follow the label's cure time, especially if humidity is high. A fan can improve airflow, but do not aim a dusty box fan directly at the finish.
After curing, apply fresh bathroom caulk around the tub edges and fixtures. Use a mildew-resistant formula and create a neat, continuous bead. Caulk is not just decorative; it helps keep water from reaching the seam behind the coating. Leave that new bead alone for the time printed on its package.
My first attempt looked good until I used the tub too soon. One corner developed a faint cloudy patch, and I had to sand and touch it up. Waiting an extra day would have been cheaper and much less annoying.
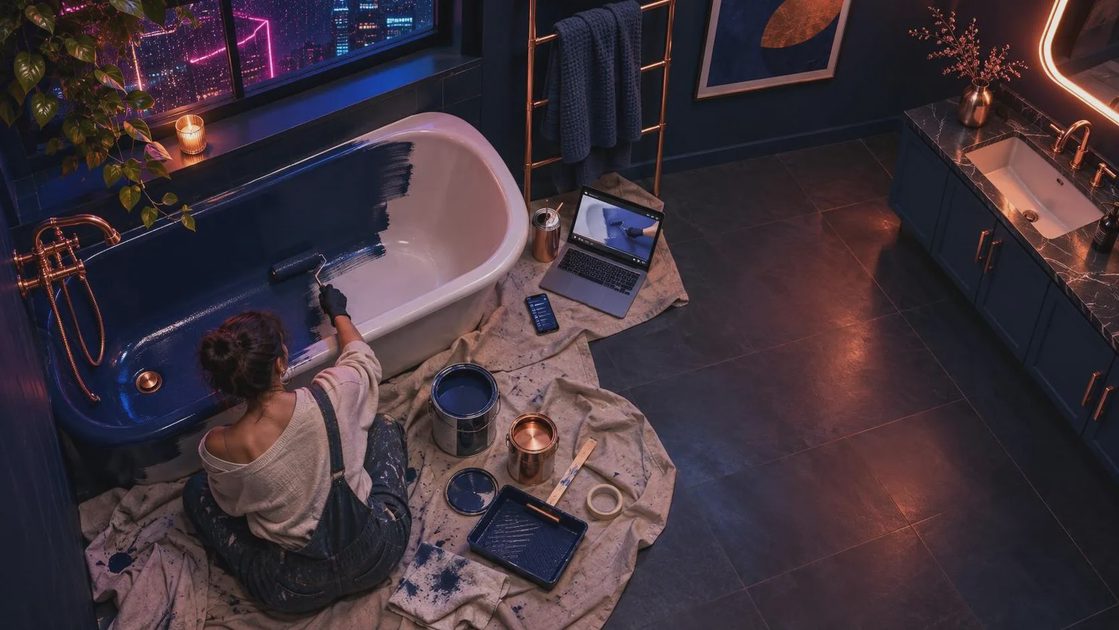
Cleaning and styling the refreshed bathroom
A refinished surface needs gentler care than a heavily glazed factory finish. Use a soft sponge or microfiber cloth with a nonabrasive bathroom cleaner. Avoid scouring powders, steel wool, stiff brushes, and products that contain harsh solvents unless the coating manufacturer specifically approves them. Wipe away standing water after bathing if your bathroom stays damp.
The new surface will look most convincing when the rest of the room gets a small edit. Replace a frayed bath mat, choose towels in one supporting color, and remove crowded bottles from the tub edge. I like a warm white tub with muted sage towels and one framed print outside the splash zone. That little bit of negative space makes the room feel designed instead of merely painted.
Do not pile rubber-backed mats on the surface for long periods. Trapped moisture and friction can shorten the finish's life. If you need a mat for safety, choose one recommended for the coating and lift it regularly to dry underneath.
Is this project worth your weekend?
Bath tub paint makes sense when the fixture is solid, the problem is mostly cosmetic, and you can give the project several quiet days. A DIY refresh might cost $60 to $130 with supplies, compared with the much higher price of replacing a tub, repairing surrounding tile, and paying for installation. It is especially useful in a rental only when the owner approves the change in writing.
Skip the project when the tub flexes underfoot, leaks, has widespread rust, or needs a perfect showroom finish immediately. A professional refinisher can prepare difficult surfaces and often offers a warranty, although quotes commonly run into the hundreds of dollars. Ask what preparation is included and how long the finish should last under normal use.
Start with what you love. The rest finds its place. If your bathroom needs a less yellow, more settled backdrop, careful bath tub paint work can be the small, satisfying change that makes the whole room feel like yours.