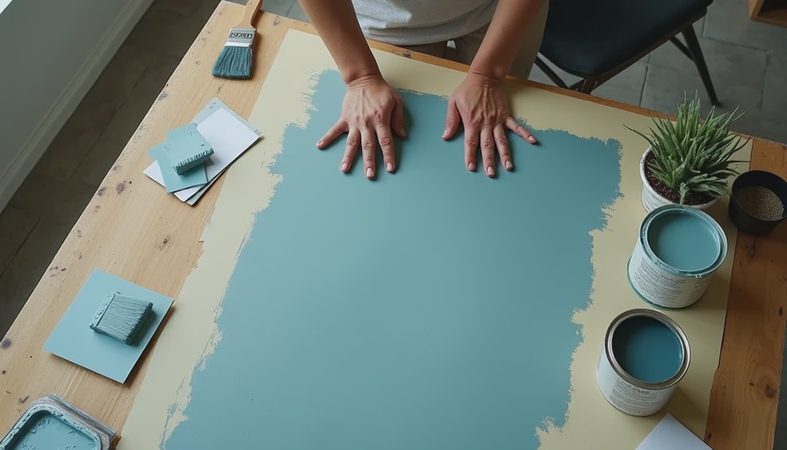
White wood stain is one of my favorite ways to make a tired table, dresser, or thrifted chair feel lighter without covering up everything that makes it interesting. Unlike solid white paint, stain lets some of the wood grain show through, so the finished piece still feels warm and collected rather than factory-fresh. It is especially lovely in small rooms where a dark wood surface can feel visually heavy.
I should say this upfront: white stain is not a magic eraser for every piece of furniture. The wood species, existing finish, sanding job, and even the cloth you use can change the result. But with a little patience, you can create a finish that looks soft, intentional, and considerably more expensive than the $18 side table you found at an estate sale.
What white wood stain actually looks like
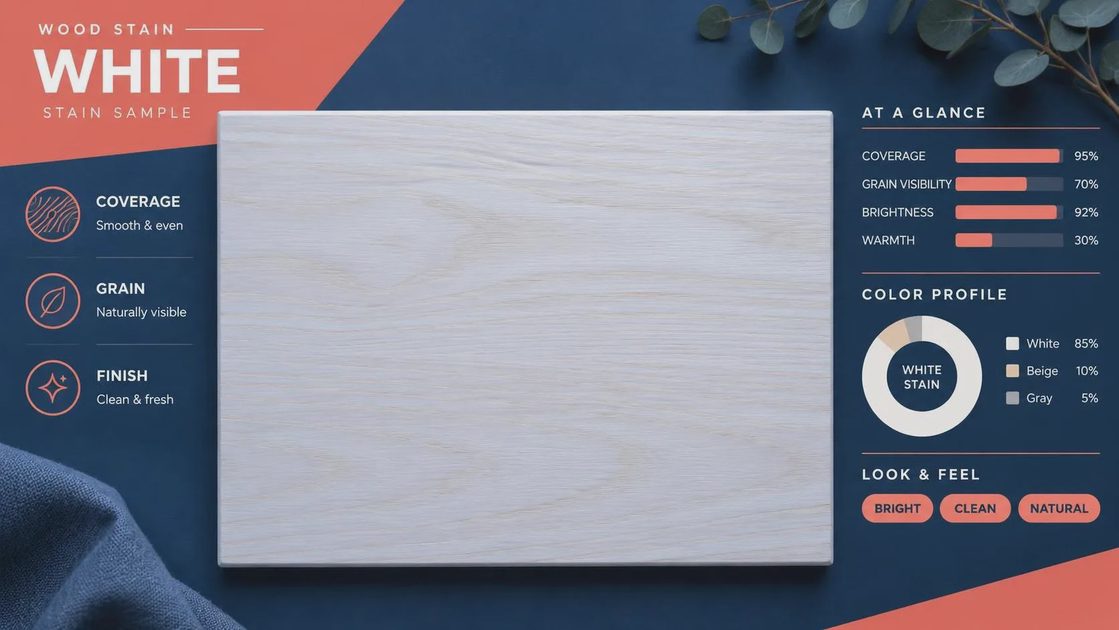
White wood stain is translucent or semi-translucent, depending on the product. It adds pale pigment while allowing the natural pattern underneath to remain visible. On oak, the grain usually stays prominent. On pine, knots and uneven areas can show dramatically. On maple, the effect may be smoother and more subtle because the grain is tighter.
That difference is the whole point. If you want a completely opaque surface with no variation, choose paint instead. If you want a whitewashed look with visible character, stain is the better lane. A product labeled whitewash, pickling stain, liming wax, or white-tinted stain can all create related effects, but they are not interchangeable. Read the label for interior use, recommended topcoat, and whether the product is water-based or oil-based.
For a first project, I usually favor a water-based white wood stain. It dries faster, smells less intense, and cleans up with soap and water. Minwax Classic Gray is not white, but it can create a beautiful pale neutral when layered carefully. Varathane White Wash is more obviously chalky. General Finishes Antique White tends to feel creamier. Test before committing, because “white” can lean blue, yellow, beige, or pink depending on the brand and the wood.
Prep matters more than the stain
The least glamorous step is the one that determines whether your finish looks handmade or accidentally blotchy. Remove knobs and hardware, then clean the furniture with a degreasing cleaner. Kitchen tables often carry invisible oil near the edges, and stain will not absorb evenly over it.
If the piece is already painted, you will need to remove the paint or decide on a different technique. Stain needs access to porous wood. For a previously finished piece, sand with medium-grit paper, then move to a finer grit until the surface feels smooth but not polished. Wipe away dust with a slightly damp lint-free cloth and let the wood dry fully.
Do not skip a test area. The underside of a tabletop or the back of a drawer is perfect. Apply the same number of coats, wait the same amount of time, and add the same topcoat you plan to use. A sample that looks perfect after five minutes can become much darker or more yellow as it dries.
How to apply white wood stain evenly
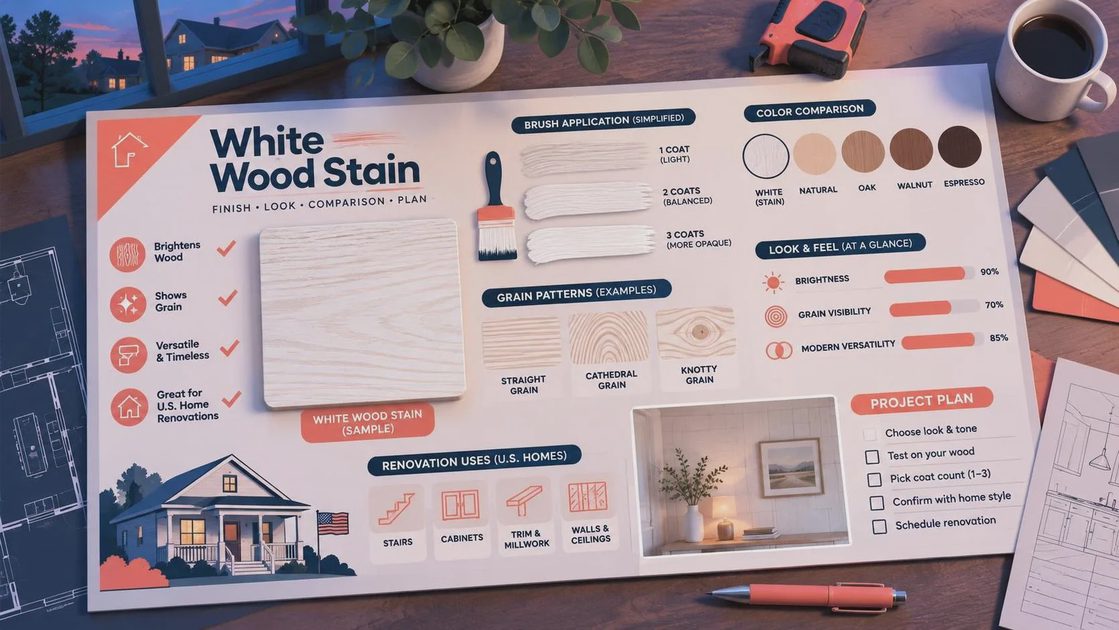
Stir the stain slowly rather than shaking it, which can create bubbles. Use a clean synthetic brush or lint-free cloth and work in manageable sections. Apply with the grain, then wipe away excess in the same direction. Leaving a thick puddle on one section creates a cloudy patch that is difficult to correct later.
I like to stain the legs first, then the frame, then the broad surface. On a tabletop, keep a wet edge so one section does not dry before you blend into the next. If the wood absorbs the first coat quickly, wait until it is dry before adding another thin coat. Two light applications are easier to control than one heavy application, and the grain remains more graceful.
A white wood stain finish often looks uneven while it is wet, especially on pine. Resist the urge to keep brushing the same area. Overworking can pull pigment back out of the pores and leave streaks. Let it dry according to the label, usually several hours for water-based products, before deciding whether it needs another coat.
Choosing the right undertone for your room
The best white is the one that gets along with the rest of your palette. A cool white stain can look crisp beside navy, charcoal, and blue-gray upholstery, but it may feel icy next to warm terracotta or camel leather. A creamy white wood stain works beautifully with woven baskets, faded rugs, brass hardware, and linen in oatmeal or flax.
Look at your flooring before choosing. If your floor has orange oak undertones, a very blue white can make the whole room feel disconnected. If the floor is pale ash or blond maple, a warmer stain may provide the contrast the room needs. This is color theory in ordinary-person language: the surrounding colors change how the finish reads.
For a rental, a stained removable piece is a safer place to experiment than a built-in cabinet. Try a small stool, picture frame, or nightstand first. You will learn how quickly the particular wood drinks up color without risking an entire dining set.
Protecting the finished piece
Stain colors the wood but does not necessarily protect it from water, scratches, or coffee rings. A topcoat is essential for a table, desk, bathroom stool, or anything that gets regular handling. Choose a clear water-based polyurethane if you want the lightest appearance. Oil-based finishes can add warmth and amber tones, which may be beautiful but can shift a bright white toward cream.
Apply thin coats with light sanding between them if the product instructions recommend it. A matte or satin finish usually looks more natural than high gloss on vintage furniture. I made the mistake of using gloss on a small pine cabinet once, and every uneven knot suddenly looked like it had a spotlight on it. Satin would have been kinder.
Give the piece time to cure before putting books, lamps, or decor on top. Dry to the touch does not always mean fully hardened. Felt pads under accessories are inexpensive insurance, and coasters are still necessary even on a beautifully sealed table.
Common mistakes and easy fixes
The most common mistake with white wood stain is expecting it to hide a mismatched surface. If one drawer is a different wood species, it may absorb the color differently. A wood conditioner can help on soft, thirsty woods such as pine, though it can also reduce how much pigment the wood accepts. Testing is still the best predictor.
If the finish is too streaky, let it dry completely before lightly sanding the roughest areas and applying a thin, blended coat. If it is too pale, build slowly rather than switching immediately to a thick application. If it looks too yellow, a cooler topcoat will not always solve the problem; the undertone may be coming from the wood itself or an oil-based product.
My favorite white wood stain projects are not perfectly uniform. A little variation gives an old piece a reason to exist. The goal is not to make oak look like plastic or pine look like marble. The goal is to give the original material a lighter voice.
A simple weekend plan
On Saturday morning, clean and sand the piece. By afternoon, test two stain options on hidden areas and choose the one that works with your room. Apply the first coat before dinner, then inspect it in daylight the next morning. Add a second coat only if the wood still feels too yellow or uneven. Finish with a protective topcoat and allow plenty of curing time.
Budget around $15 to $30 for stain, $10 to $20 for a brush and sandpaper, and another $15 to $30 for a clear finish. That puts a small furniture refresh near $40 to $80, excluding the piece itself. Compare that with replacing a solid wood nightstand, and the appeal becomes fairly obvious.
Start with what you love. The rest finds its place. If that means the grain, the little knot near the corner, or the drawer that never closes perfectly, let those details stay visible. White wood stain should support the character of your furniture, not erase it.